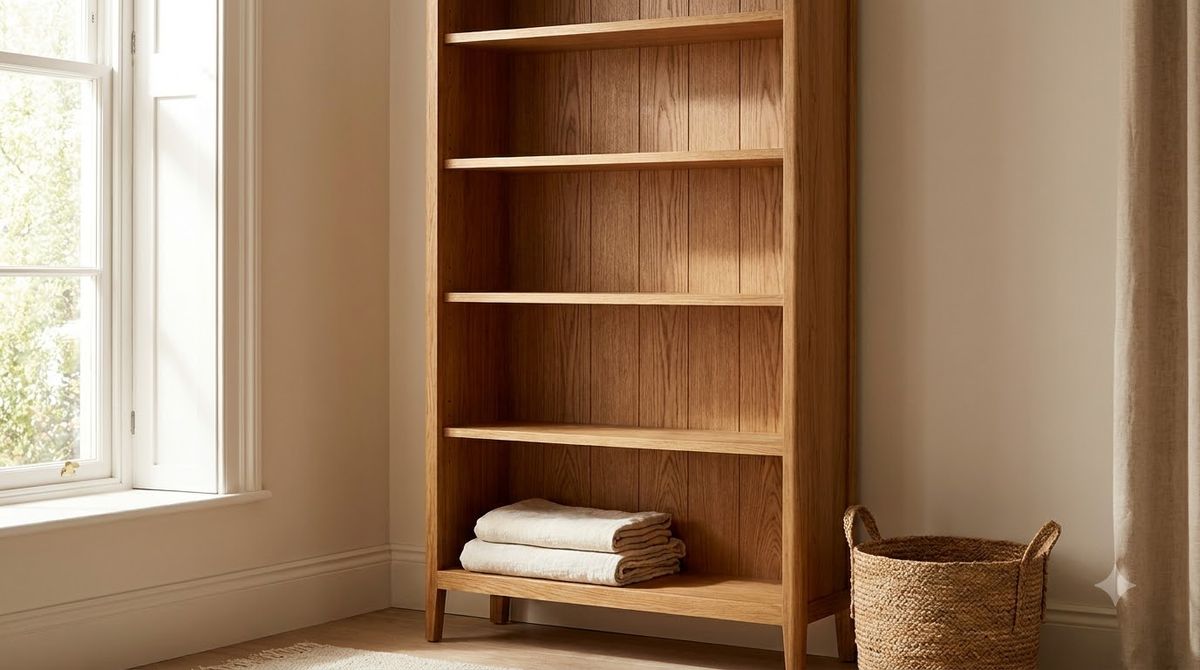
To style a bookshelf, start by clearing every shelf, then rebuild it one shelf at a time using three moves per shelf: a stack of horizontal books as a base, a row of vertical books held with a bookend, and one decorative object taller than the books beside it. Aim for mostly books with a handful of objects, leave about one-third of each shelf visually empty for breathing room, and repeat a small color palette (a warm neutral base plus one accent works well) top to bottom so the whole unit reads as one composition instead of clutter. That single method works on a $30 thrifted shelf or a built-in wall unit.
Key Takeaways
- Style shelf by shelf, not the whole unit at once, and keep each shelf mostly books with a few objects.
- Leave about one-third of every shelf empty so the eye has somewhere to rest; crowded shelves read as clutter.
- Use the rule of thirds: group objects in odd numbers (1, 3, or 5) and vary their heights by at least 2 to 3 inches.
- You can restyle a full bookcase for $0 to $50 using books you own plus a few thrifted objects and one small plant.
Why does a styled bookshelf look better than a full one?
A bookshelf packed wall-to-wall with paperbacks reads as storage; a styled one reads as decor. The difference is negative space and rhythm. Treat each shelf like a tiny still-life photograph: a base layer of books, a mid-height object, and empty air above at least part of the row. Boxing up the books you do not need makes the remaining shelves look intentional rather than crammed, and the room feels bigger because the eye finally has room to travel.
Renters get a bonus here: a well-styled bookcase does the decorative work of a gallery wall without a single nail hole. It fills vertical space, adds color and texture, and comes down in an afternoon when your lease ends.
How do you arrange books on a shelf?
Mix two orientations on every shelf. Stand most books upright between bookends, then lay a short stack of 3 to 5 books flat to create a pedestal for a small object. That horizontal stack breaks up the “library spine” monotony and gives you a built-in riser at no cost. Here is a simple sequence, left to right, on a standard 30-to-36-inch-wide shelf:
- Anchor the left side with 8 to 12 vertical books, tallest to shortest, ending at a bookend.
- Leave a 4-to-6-inch gap, the deliberate empty zone that keeps the shelf from looking full.
- Lay a horizontal stack of 3 to 5 books flat as a base for one object.
- Place a single decorative object (vase, small sculpture, candle) on top of that stack.
- Finish the right side with a few more vertical books or a leaning framed print.
Two organizing tricks add instant polish. Color-blocking, where you group spines by hue, gives a calm, modern look; a soft rainbow gradient reads more playful. If your book jackets are loud and mismatched, try turning 10 to 15 of them spine-in so the cream-and-tan (#EAE0D5) page edges face out, an old designer trick for a muted, cohesive palette.
Depth matters too. Most shelves are 10 to 12 inches deep, so pull your books flush to the front edge and use the 2 to 3 inches behind them to stagger a smaller object slightly back. That front-to-back layering, not just left-to-right, is what gives a professionally styled shelf its sense of dimension in photos and in person.
What objects should you style with?
Reach for objects in five texture families so no shelf feels flat: organic (a trailing plant), sculptural (a small figure or bookend), reflective (glass, brass, or ceramic), personal (a framed photo or ceramic dish), and textile-soft (a tiny woven basket). A shelf that touches several of these categories usually looks styled. Keep this shopping-and-sourcing list handy:
- Small plants: a 4-inch pothos or a faux trailing ivy softens hard edges; expect $6 to $18 live, $10 to $25 faux.
- Vases and vessels: one bud vase and one wider ceramic vessel, $4 to $12 each at thrift stores.
- Bookends: a heavy pair (marble, brass, or a painted brick) keeps rows upright, $0 to $20.
- Small frames: two 4×6 or 5×7 frames, leaned rather than hung, $3 to $8 each.
- One “hero” object: a decorative bowl, stacked coffee-table book, or a candle in a hurricane, the piece your eye lands on first.
A living element matters more than people expect. A single trailing plant per two shelves is a good starting point; if you want ideas beyond pothos, our roundup of stylish indoor plants for the living room covers low-light options that thrive on a shelf, and the fuller guide to indoor plants for every room helps you match a plant to how much light your shelf actually gets.
How do you make a small-space or rental bookshelf look expensive?
Cohesion is what reads as “expensive,” and cohesion is free. Pick a palette of one neutral plus one accent and repeat it, for example a warm-white base (#F4EFE6) with terracotta accents (#C86B4A), and let nothing stray from those two families. Follow these small-space rules:
- Limit your palette to 2 or 3 colors total across the whole bookcase, then repeat them on every shelf.
- Vary object heights by 2 to 3 inches within each grouping so nothing lines up flat.
- Pull larger, heavier-looking objects toward the bottom shelves and lighter, airier pieces up top.
- Style in a loose triangle: the eye should zig-zag diagonally down the unit, not scan in flat rows.
- Dust and align spines flush to the front edge; that one 10-minute habit reads as “expensive” more than anything you buy.
For a rental, the whole bookcase can also anchor a larger scheme. Pair it with the layout moves in our cozy living room layout guide, and if a shelf has one empty upper zone, a leaning print from our picks of large wall art prints under $80 fills it without hardware.
Bookshelf styling: do this, not that
| Do this | Not that | Why it works |
|---|---|---|
| Leave ~1/3 of each shelf empty | Fill every inch wall-to-wall | Negative space signals “decor,” not “storage” |
| Group objects in odd numbers (1, 3, 5) | Line up pairs and even rows | Odd groupings feel natural and dynamic |
| Mix vertical and horizontal book stacks | Stand every book straight up | Horizontal stacks add risers and rhythm |
| Repeat 2 to 3 colors throughout | Use every color you own | A tight palette reads cohesive and expensive |
| Vary heights by 2 to 3 inches | Match all objects to one height | Height contrast creates a styled, layered look |
| Add one plant per 2 shelves | Keep it all hard and static | Organic texture keeps a shelf from feeling stiff |
Which objects go on which shelf zone?
Think of a bookcase in three zones. The eye-level zone (usually the second or third shelf from the top) is prime real estate, so put your best “hero” object there. Save the top for light, airy pieces and the bottom for weight. This keeps the whole unit balanced instead of top-heavy.
- Top zone: lighter objects, a trailing plant, and books with soft or light spines so the top doesn’t feel heavy.
- Eye-level zone: your hero object, a stacked pair of coffee-table books, and a personal frame; this is what guests notice first.
- Bottom zone: heavier vessels, larger books laid flat, and baskets that hide clutter like cords or remotes.
A quick step-by-step you can finish in 30 minutes
- Clear every shelf completely and wipe them down; start from empty (5 minutes).
- Sort your books into two piles: keep-on-display and store-elsewhere; aim to display only part of what you own.
- Gather 6 to 10 objects across the five texture families and set them on the floor where you can see them all.
- Rebuild one shelf at a time, bottom to top, using the vertical-books-plus-horizontal-stack-plus-object formula.
- Step back 6 feet after each shelf and remove one thing; if it still looks busy, remove one more.
That “remove one thing” step matters most. The instinct is always to add; the styled look almost always comes from subtracting. Photograph the shelf on a phone before finishing, because the camera flattens the scene and instantly shows which corner is too busy or which grouping has no clear focal point. If your shelf anchors a bedroom instead of a living room, the same rhythm applies, and our aesthetic bedroom ideas guide shows how to tie a styled shelf into a softer, restful palette.
Frequently Asked Questions
How many books should be on each shelf?
There is no fixed number, but aim to fill only about two-thirds of each shelf and keep it mostly books with a few objects. On a 30-to-36-inch shelf that usually means 8 to 15 vertical books plus one horizontal stack of 3 to 5. If the shelf looks crowded from 6 feet away, remove a few until it breathes.
Should books be organized by color or by size?
Both work; it depends on the mood you want. Color-blocking or a rainbow gradient looks modern and calm and is easiest for a cohesive palette. Organizing by size, tallest to shortest, feels more classic and library-like. You can also mix them: color within each shelf, descending height across the shelf. Pick one system and repeat it top to bottom.
How do I style a bookshelf on a tight budget?
Start with what you own, which costs nothing. Restyle existing books, then shop thrift stores for vases, frames, and bookends at $3 to $12 each. One 4-inch plant for $6 to $18 adds the most impact per dollar. A full, styled bookcase realistically lands between $0 and $50, and much of that look comes from editing and arranging rather than buying.
What is the rule of thirds for shelf styling?
The rule of thirds means grouping and spacing in threes rather than evens. Style objects in odd numbers (1, 3, or 5), vary their heights so they form a loose triangle, and leave roughly one-third of each shelf empty. Odd numbers and asymmetry read as natural to the eye, while even, evenly-spaced arrangements can look stiff and staged.
How do I style a bookshelf without any nails or damage?
A bookshelf is already renter-friendly because everything sits on the shelves, no wall damage required. Lean framed prints against the back panel instead of hanging them, use freestanding objects and plants, and add removable adhesive bumpers under heavy vessels to prevent sliding. When you move, it all packs into a box in under an hour with zero patching or repainting.